The Jazz plugin is a plugin for Unreal Engine 4 that lets us edit and export levels for our in-house engine Jazz Engine. It is written entirely in C++ and designed with to be fast and user friendly for Level Designers. The Plugin makes up most of our Level design to engine pipeline.
When making our Game Porjects, we used an in-house engine made from scratch by our programmers but there was no time to make a usable editor. While most groups at The Game Assembly uses Unity as their editor, my level design partner and I were much more comfortable with Unreal Engine 4 and generally thought of it as a superior tool for level designers. Since no one at The Game Assembly had ever used Unreal Engine on this way and I could not find anyone else who had done something similar I had to reinvent the wheel.
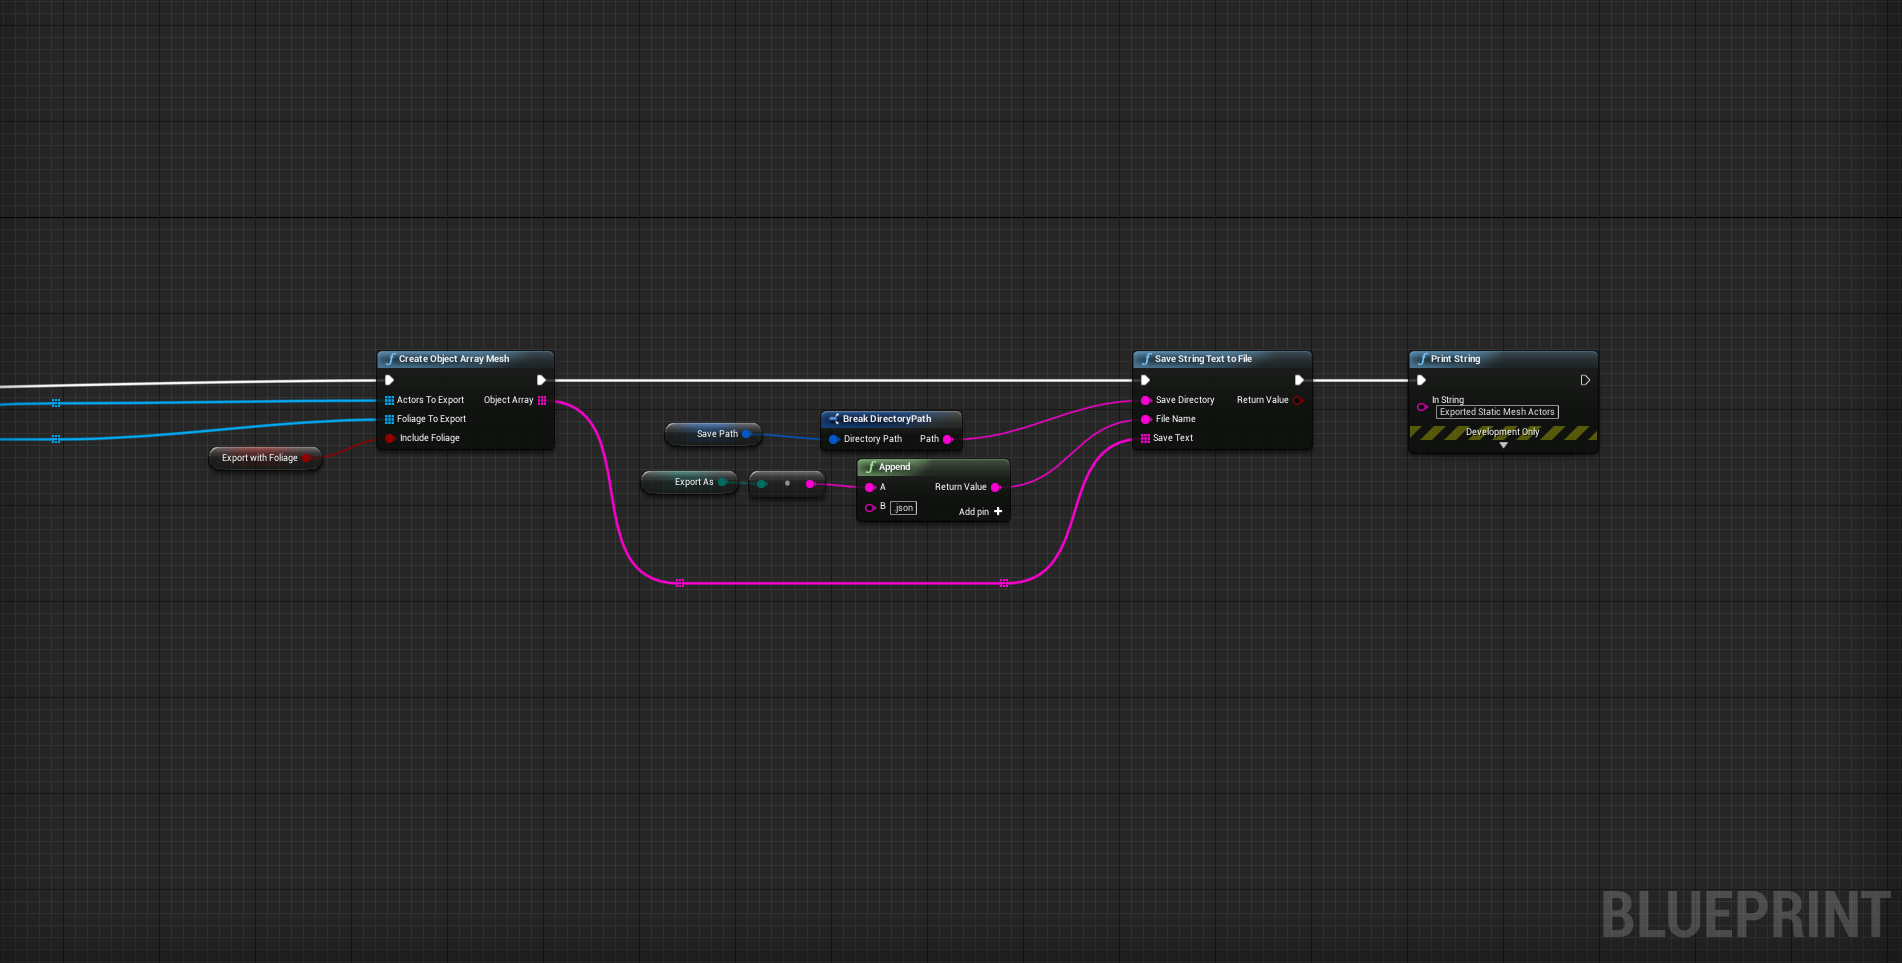
I had to show my group and my teachers that this was even possible so the first thing to do was to make a prototype. With Unreal’s blueprint scripting I crated a function library that could format JSON files and a C++ function that could save that file. With this I made an actor would find all static meshes, get their location, rotation and the name of the mesh used and save then into a JSON file. This was the first iteration of the plugin it had limited functionality, it was slow, and you had to find the exporter actor in the world each time you needed to export but it worked.
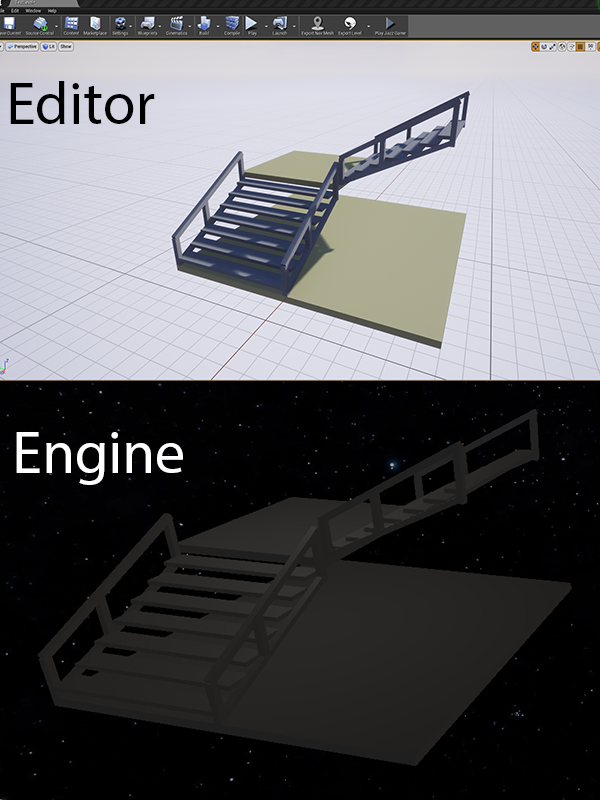
When exported, objects showed up with the right mesh however their position and rotation where way off. It was because none of our software were using the same orientation, Unreal Engine had one, Maya that the artist used had another one and the engine had another one. While the position problem was easily solved by swapping the values from one axis to another the rotation problem did not seem to go away nonmatter what I tried. I had to turn to the programmers and ask for a custom function that recreates Unreal’s coordination space in Jazz Engines coordination space and then apply the rotation. With that our problems were solved objects that were placed in the should up the same in the game.
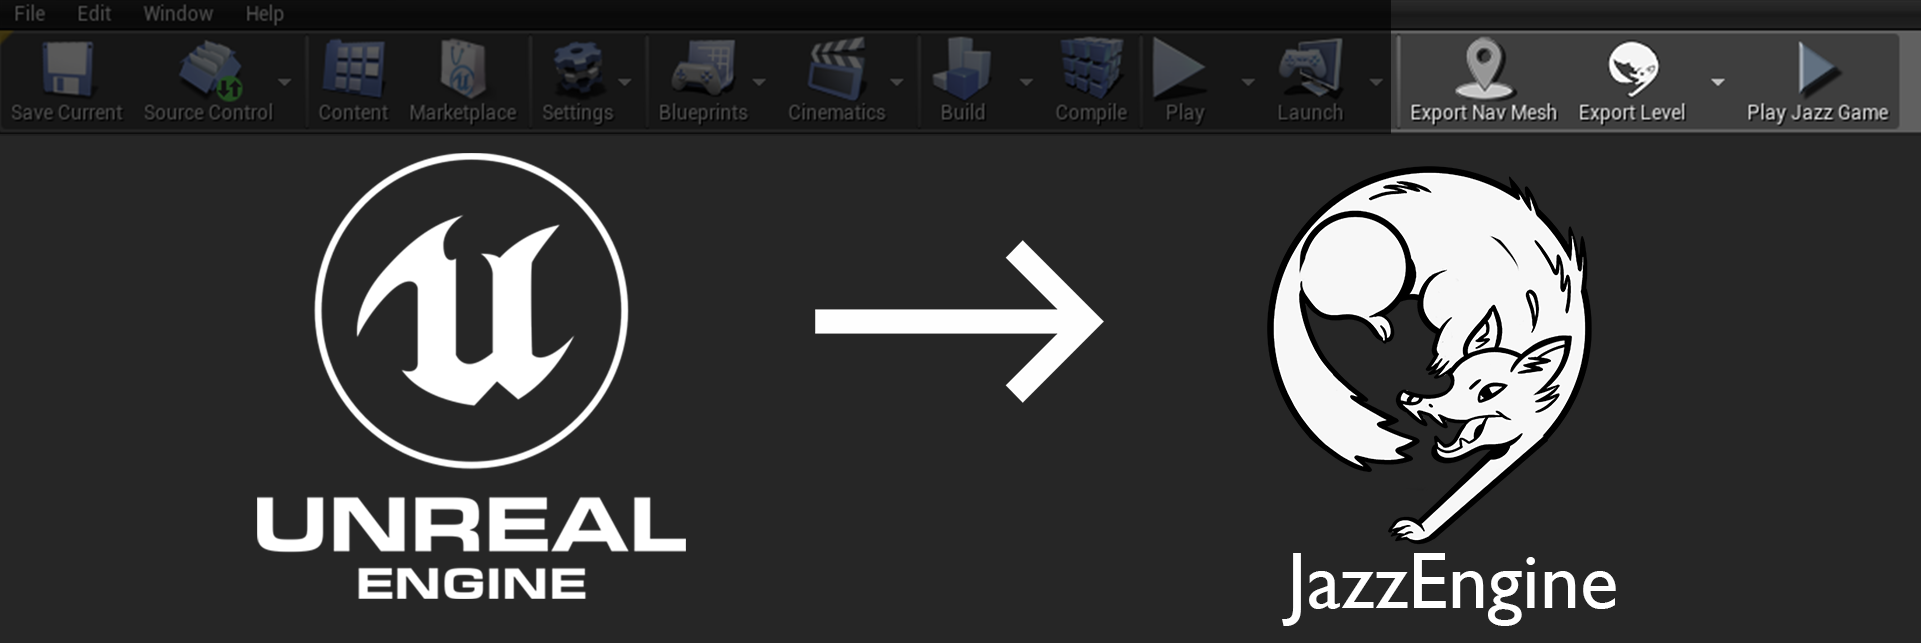
With everything working as intended it was time to improve the usability and the performance. To make my tool a part of the editor I had to make a custom plugin for Unreal Engine. Because there was very limited documentation on plugin, I had to do a lot of trial and error but eventually I got the hang of it. First, my blueprints had to be rewritten to C++. It was tedious but worth it, the performance improved immensely. With blueprints the export could handle about 10,000 objects before lagging, with C++ it started lagging at 9,000,000 objects which is far beyond what we would need. Since the plugin was to be used by level designers its interface had to be simple and self-explanatory. I made three large friendly buttons that wouldn’t ask anything of the user. An Export NavMesh button, An Export Level Button and a Play Button. This allowed for quick iteration as the designer with the click of a button save their level and start the game at that level.
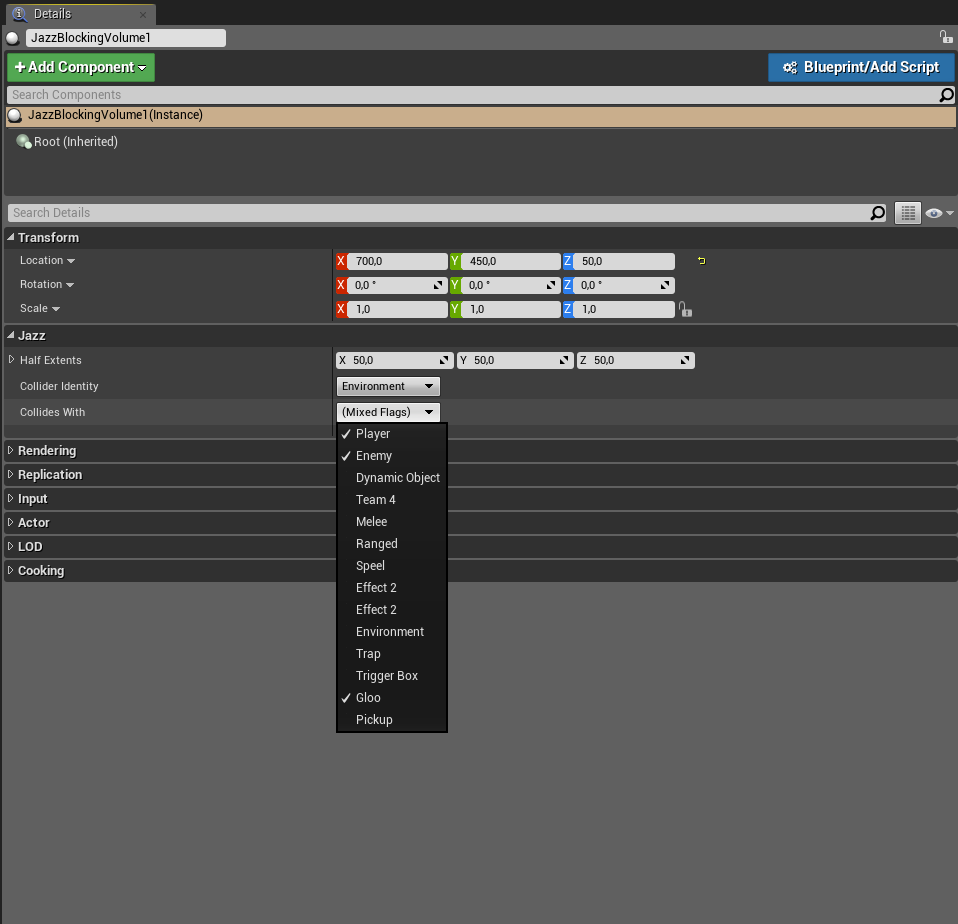
Since our engine often uses actors that do not exist in Unreal, I have had to make a lot of custom actor. These actors will have the data needed for our engine and only exposes relevant values to the designers in an easy to use fashion. For instance, our collision flags use a bitmasked int to represent what can collide with what however remembering different numbers for different collisions is not very user friendly. So, I made a bitmasked enum in the editor that appears as a drop-down menu with readable names such as "player" and "enemy". This allows designers to easily see what flags should be active. When we export objects with collision, I can get the get the actual value of the enum and it will correspond with the same int as used by the engine.
Blocking Vloume: Volumes that provides collision to the game. Collision flags can be chosen through a drop down menu with human-readable names.
Culling Volume: Volumes that allow for room culling. Each volume has a section represented as a number. If the player is in a volume only objects that are in volumes with the same section number will be rendered.
Waypoints: Objects that help our AI with pathfinding. In the editor they will ray cast to other waypoints to find all possible paths. Our Mimic enemy can transform itself into an object when they reach a waypoint, the objects is defined in the editor.
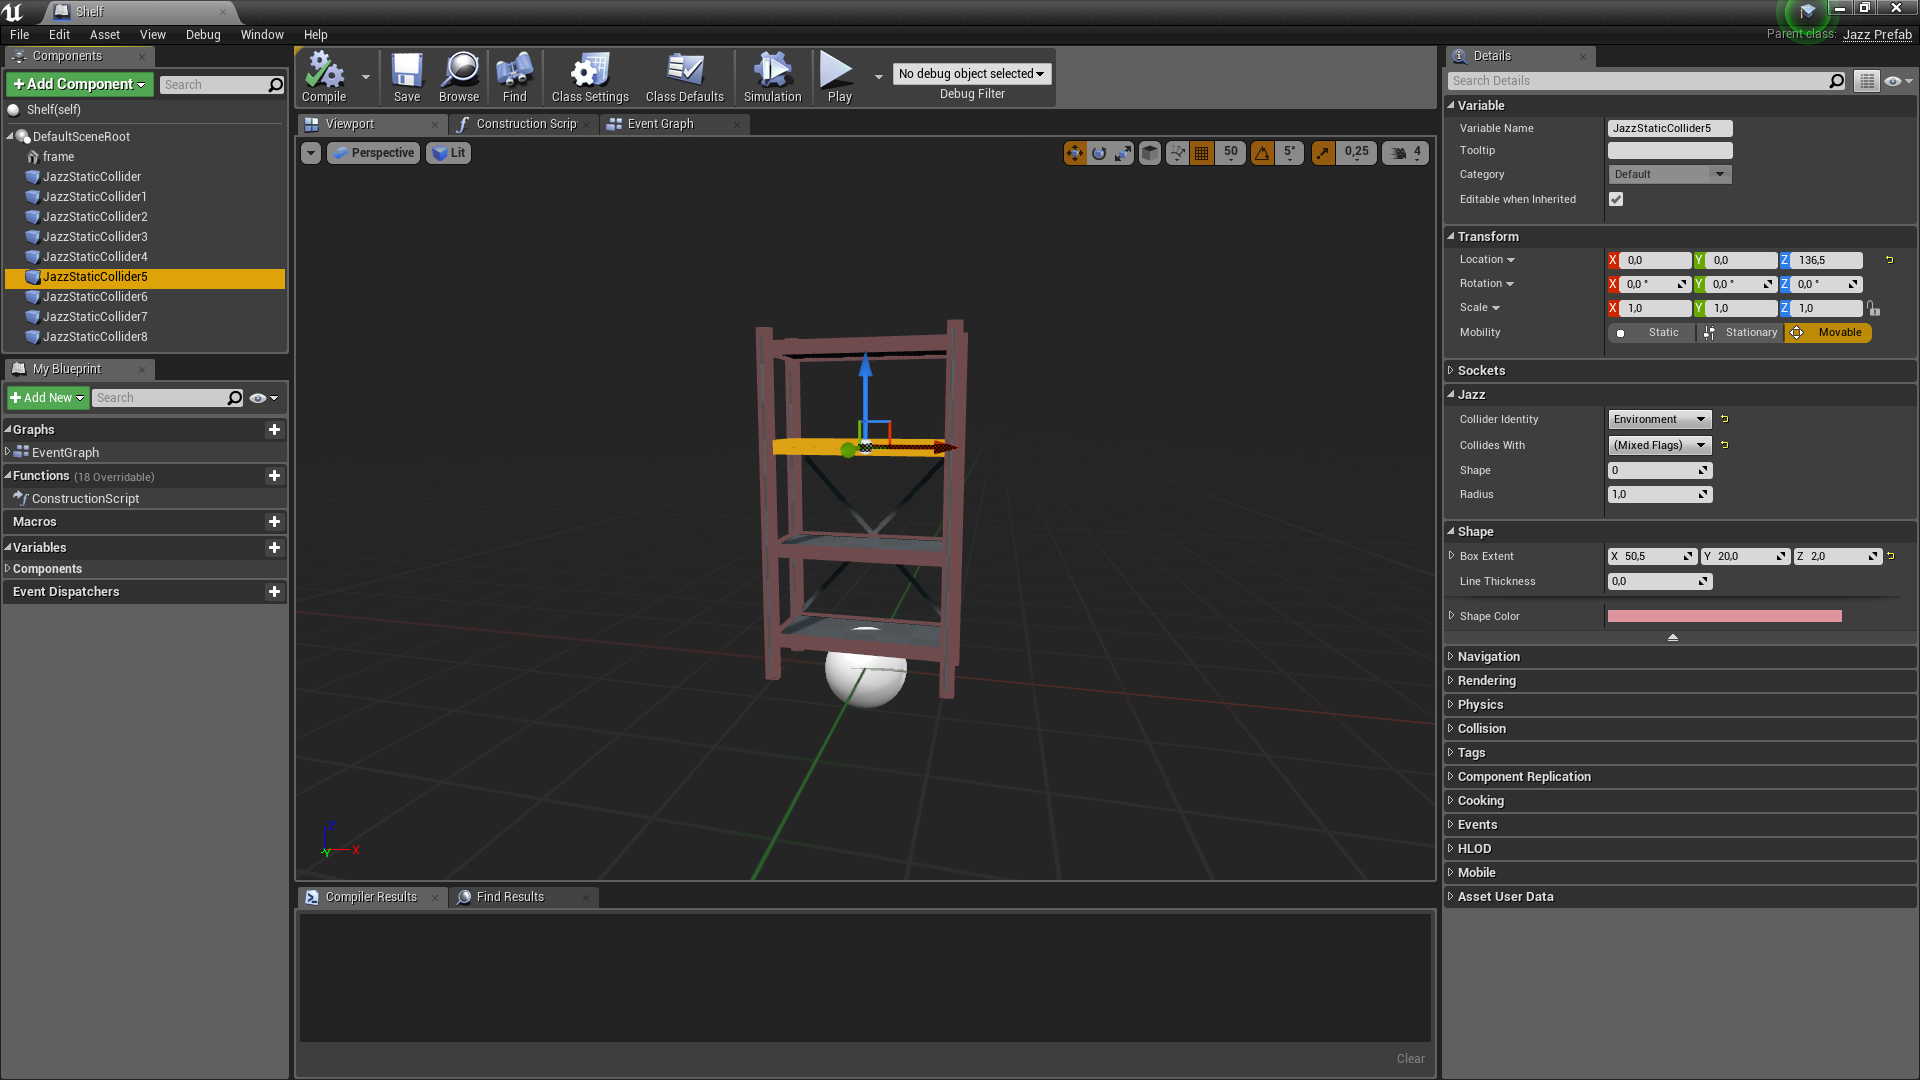
Prefabs: Objects that are predefined by a prefab file. They are mainly used to easily create groups of common objects. They use custom components that work well with the engine. A prefab can be generated in Unreal through the blueprint editor in the same way you make normal blueprint classes. When exported the plugin will look at all its components, format them to JSON and save into our game data.
Our engine needs special data that doesn’t exist in Unreal’s default components, that’s why I made custom components as subclasses of the Unreal version so that they can work in editor but contains the data needed by the engine.
Model Component: A component for static meshes. The mesh will be the same in editor and in game given that the mesh has been imported into both.
Collider Components: There are three types of collider components Static, Character and Dynamic. Their collision flags cna be selected in the same way as blocking volumes.
Light Components: There are two types of light components Point Light and Spot Light. They will use the same lighting values as the editor.
Particle Components: Used to spawn particles. They work just like the models.
The plugin has been a lifesaver for out game projects and have made the work of us level designers much more effective. It was a fun and new challenge that has tested my own limits as a technical level designer and improved my worked as a level designer.